Thrive Life is Gone! Now What?!
Thrive Life is Gone! Now What?! **This post contains affiliate links, which means if you click on a link and make a purchase, I may

I couldn’t decide if this should go under the “Emergency Preparedness” category or the ”Organization” category, because I feel like it belongs equally to both. This is something to help with your everyday organization of information, but also would be gold to have in the event of an emergency.
As I was writing the blog post on protecting your important documents in a fireproof waterproof box, I realized this was an important step to that. What if your computer were lost in a house fire, along with any pieces of paper with passwords and account information on them? It sure would be nice to have a copy of all of that information in your firebox!
I would even dare say that gathering all of your important information is life-changing, even if you never have to use the copy that you keep in your fireproof box.
Because after doing the work, you will have a single file to refer to that will be so organized and user-friendly, that paying bills will be a snap. You won’t have to call your health insurance company every year when you forget what your deductibles are, or need to know whether or not your kid needs a referral to see an ENT specialist.
Gone will be the days when you have to shamefully click on the “forgot password” button because you’re not sure which of the 12 standard passwords you used for that particular website.
So let’s get started!
When I started this task about 10 years ago, I created a Word document as a convenient place to keep track of passwords. You know how some of them require that they be six characters or more, and others need a capital and lowercase letter, and others need those plus a number, and others need special characters, etc., etc., etc.
I got sick of having a loose piece of paper in the desk drawer with random usernames and passwords. One loose paper became 10 loose papers…you get the point.
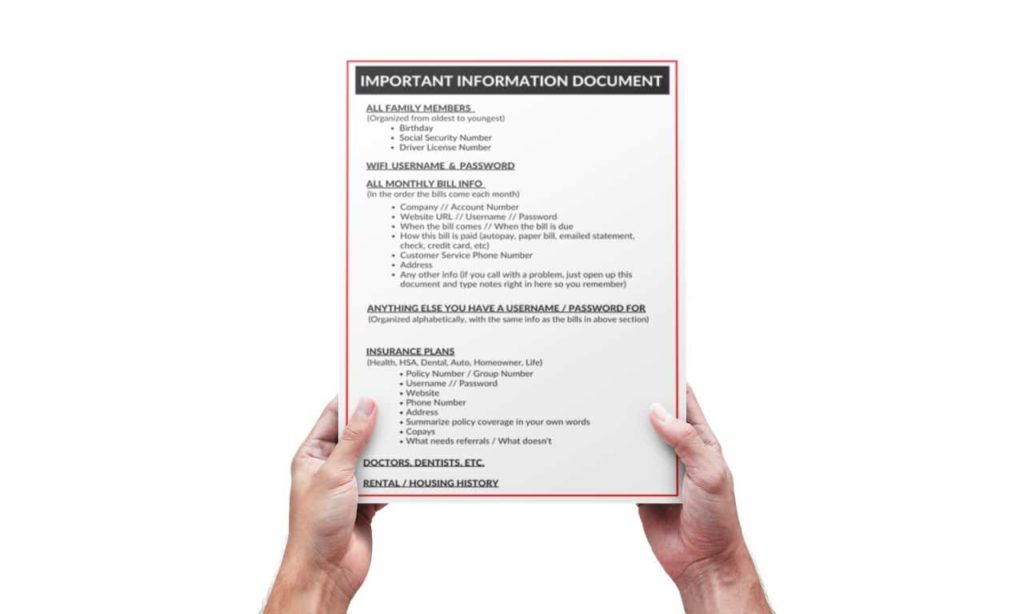
I finally decided it was time to put them all together. And as long as I was going to the trouble of combining them all into one place, I decided to be thorough and put it ALL in one place. By ALL, I mean, for each account with a username and password, I included any information I may need in the future:
This document evolved over the years.
I originally organized it alphabetically, with each company name in bold, with the corresponding information below each company name.
After a while, I realized I was consistently looking at the same 10-15 accounts over and over again (mainly the monthly bills I was paying), so I decided to put those at the top, in the order the bills came in each month. Then the rest of the account info was alphabetized after that first section of priority accounts.
I added everyone’s names, birthdays, social security numbers, and driver’s license numbers at the top when I married Tyler and all of the sudden had 4 new people to keep track of.
I also added our WIFI username and password.
A few months later, I decided to add a page with just insurance information on it. I now had kids with different insurance policies with secondary policies for some of them, and some not, and it was just a big mess.
Hold on. I think this deserves its own heading.
I set aside a day and gathered all the information I had on all of our insurance ANYTHINGS.
I created a new heading for each insurance policy and took notes from what I had in front of me.
Then I called every health insurance, dental insurance and eye doctor insurance company that any of us were covered under, and took notes on things like:
This may seem like a waste of time to call and ask when you don’t have a specific situation to ask about. But let me tell you something…those were the best 2 hours I had spent on the phone in a long time!
When I was finished, I had all the details of everyone’s different policies and coverages, and then whenever any of the kids (or we) needed anything, I just opened this nifty file, and all my answers were right there in one place. In my OWN non-medical, non-code language.
I took a break and tackled the auto, homeowner, and life insurance the following week.
Just below that section, I put everyone’s primary care physician with the phone number and address, as well as dentists, etc.
Okay, a few tips from someone who had one of these on her computer for over 10 years.
(But if you want to know what I use now, scroll down to the end of this post!)
This is 2018, people. No handwriting allowed. You know why? Because when you decide to switch from Comcast to AT&T, or switch from Verizon to T-Mobile, or when you call your husband’s health insurance company for the 82nd time in two weeks because you made the mistake of thinking it would be a good idea to get dual coverage for your kids when you remarried, only to find that their current policy kicks into secondary mode whenever any other insurance is added, which ultimately makes every single medical bill double the cost, but no one can seem to figure out how to remove the children from said policy, and you get a different person every single flippin’ phone call, and then you get transferred to 19 different people and you have to explain your story to every single flippin’ one of those people, and you write down each of the names of each of the people you talk to, just in case one of them happens to show a spark of understanding for your really not-so-complex situation, so you can add them to your Christmas card list, and send them flowers every year for the rest of their life, for not being a total and completely incompetent moron, well, you will run out of room, and then you’ll have to rewrite everything.
So take it from someone who knows. Type it.
This is actually a really simple thing to do. I am going to tell you how to do it in Microsoft Word. But I’m sure you could search it in the “HELP” section and get step-by-step instructions from whatever program you are using.
For Microsoft Word, go up and click on the 4 little colored box thingies in the upper left-hand corner of the document.
Go down and hover over “PREPARE.”
In the column that appears, you will see “ENCRYPT DOCUMENT.”
It’ll ask you to enter a password, and … DONE. Now only you can open that document. Pretty cool, huh?
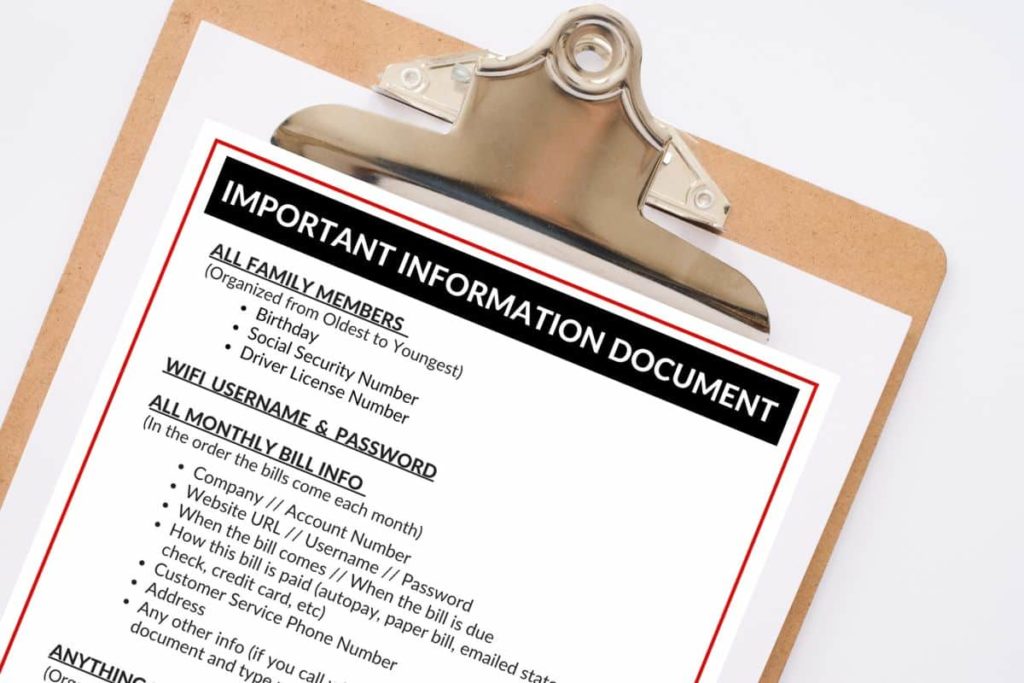
I created a handy dandy little free printable for you to print out and keep by your side as you tackle this life-changing task (you can get it by subscribing to my email list at the bottom of this page).
Note: This is just a baseline for you. This is the information I put in mine, and how I organized it. If you want something so much more unbelievably thorough, scroll to the bottom of this post!
You can take it step-by-step if doing this whole thing in one day is too overwhelming.
Now that you know how I did this using only Microsoft Word, it’s time to show you the Important Information 2.0! Ha!
If you’re ready to really organize ALL of your important information, you need the Plan for Awesome Information Hub!
Thrive Life is Gone! Now What?! **This post contains affiliate links, which means if you click on a link and make a purchase, I may

If you’ve been waiting for Berkey to come back, keep waiting. This post shares what you need to know about why Berkey is gone and what you need to know about an even better option, Boroux Water Filters.

Everyday Preparedness:Simple Systems to Make Life Easier **This post contains affiliate links, which means if you click on a link and make a purchase, I
