
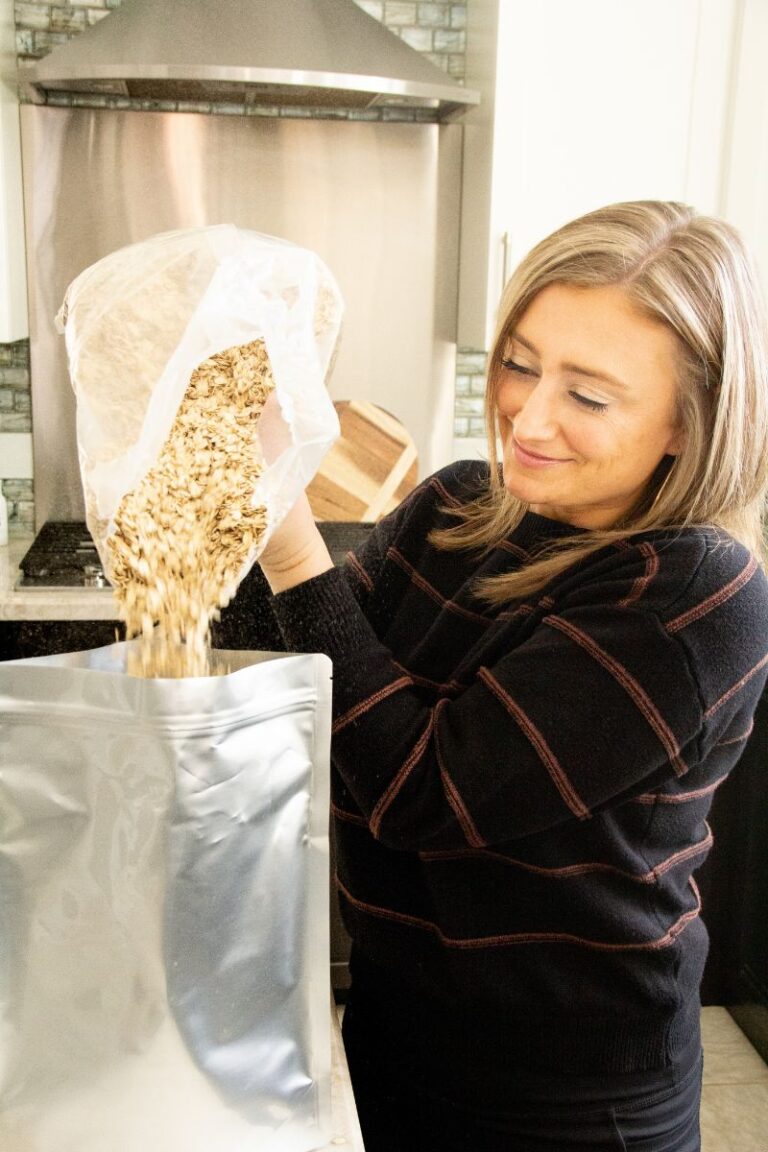
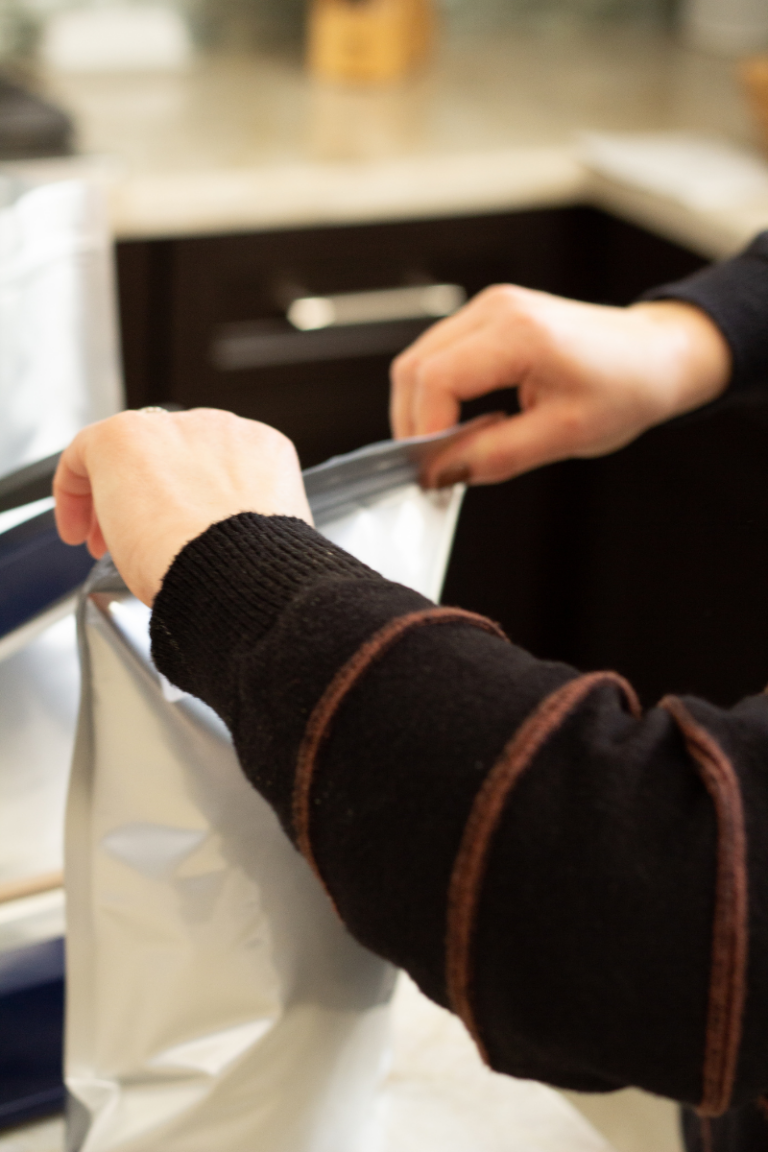
What you need to know about using oxygen absorbers for food storage
Learn how to properly use oxygen absorbers for food storage, including what is an oxygen absorber, when to not use them, how many ccs and determining shelf life.


Learn how to properly use oxygen absorbers for food storage, including what is an oxygen absorber, when to not use them, how many ccs and determining shelf life.
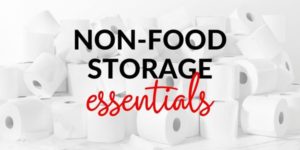
There will always be things we don’t think about before we encounter an emergency. But, I’m here to help you think about some of the non-food storage items you might want to keep on hand for the next rainy day.
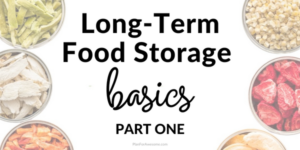
Answers to some of your most asked questions about long-term food storage, including the difference between dehydrated and freeze dried food.
