Simplify Your Family's Emergency Preparedness

How to Use Buckets for Food Storage

white 5 gallon bucket filled to the top with dry beans.

When it comes to using buckets for food storage, there are a few things you should know before just dumping it in and putting a lid on it. Keep reading to find out why food storage buckets are a good idea, the process for filling them, and a simple tip that makes them more safe food storage containers.

**This post contains affiliate links, which means if you click on a link and make a purchase, I may make a small commission at no extra cost to you.

Why food storage buckets are a good idea for your long-term emergency supply

Let’s get the obvious out of the way first – yes, you do need to find a space to store these buckets. They’re not quite as small-space-friendly. BUT, that doesn’t mean you can’t use this method of storing food if you have a smaller living space. One recommendation would be to get some bed risers and slide the buckets underneath beds. I really like these stackable risers you can get on Amazon (affiliate link).

So, why is it worth it to make room for food storage buckets? Well, if you get the right kind (food-grade), the plastic is really heavy duty and helps keep out things like:

  • rodents and bugs
  • light
  • moisture
  • oxygen

All of these things will degrade your food in some way. Plus, some would just be gross to discover when you open a bucket of flour thinking you’re going to make some bread.


If you’re good about rotating your food storage, one thing I suggest is storing things you use larger quantities of in buckets and things that are smaller quantities in something else (like a #10 can). For example, wheat or white flour are great for bucketing. Whereas freeze-dried fruit, I’d probably go with a #10 can.


The things I use buckets for are:

  • White Flour
  • Bread Flour
  • Wheat
  • Sugar
  • White Rice

Which buckets make safe food storage containers?

BUCKETS


There are so many options out there and I know people who use pretty much every option. But, if you really want to make sure you’re maximizing food storage and keeping your food free from nasty chemicals that could leech out of the plastic, then you’ll want to go with food-grade plastic buckets.


Here are a few options:

  • Wallaby Goods (affiliate link) – I have zero concerns about their products. They are awesome. The price, however, is a bit high. So, if money isn’t an issue for you then by all means, these are great. But, if you’re on a tight budget, there are plenty of more affordable options.
  • Basic White 5 Gallon Buckets & Lid (affiliate link) – Simple, inexpensive and gets the job done. 
  • Baytec Containers – They have several different sizes to choose from. I’ve never used these, so I can’t personally vouch for them.
  • Home Depot – Yep, the hardware store that sells more than building supplies. Again, just your basic white bucket but food grade and a carry handle. Very budget friendly.
  • 5 Gallon Flip Bucket – Honestly, I cannot fathom spending $50 on one bucket, but if you want to, then this is a really cool option since you can open it from the bottom and use the oldest food first.
  • Grocery Store (like Winco) – I have seen food-grade buckets at lots of different grocery stores in Utah. But for those of us not lucky enough to have such options (I live in California), I have found them at Winco in their bulk section! These buckets are pretty darn affordable. They’re just a bit awkward to put in your cart.
  • Bakery – I haven’t had personal experience with this, but I have been told by several people when I have talked about this on Instagram, that bakeries sell their old buckets for super cheap, or even give them away for free sometimes! And you know they’re food-grade if they’ve had ingredients in them for a professional bakery, so…that sounds like a fabulous option if you’re willing to call around and do some legwork!

There really are so many more options; it would be impossible to link to them all. But, the key is to make sure they say food grade. 


LIDS


For sure you can use the lids that come with the buckets. Most companies sell them together, but double check because there are definitely options to buy a bucket and lid separately.


I really like these Gamma2 Seal Lids (affiliate link). They’re super easy to install to standard buckets and create an airtight seal. Plus, I like the twist on/off feature.


Opener


If you’re sealing your buckets with the cheaper lids (not the gamma ones that twist), then you’ll want to make sure you have something to open them with when you’re ready to use the contents. You can grab this bucket and pail opener for less than $5 (affiliate link). Just store it wherever you keep your food storage buckets.

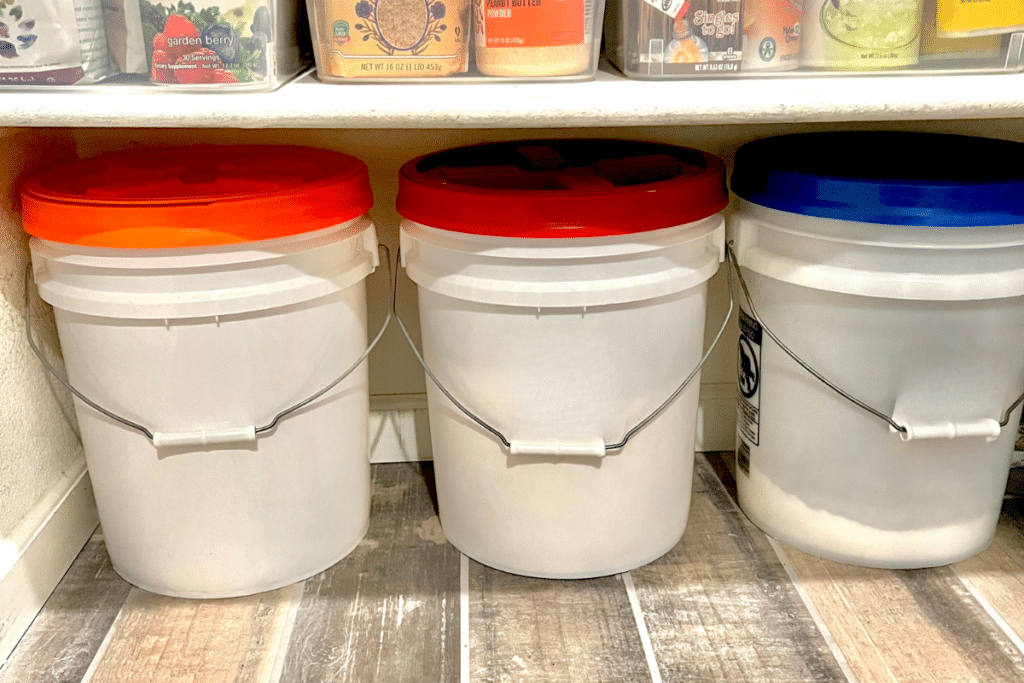
three white buckets with different colored lids and labels sitting on pantry floor.

Different ways to use buckets for food storage

You can simply wash your buckets and lids, and then dump the food in (with some oxygen absorbers) and be done with it. This is my preferred method. I don’t really feel the need to double up, but …


There are some people who like to do a mylar bag inside a bucket.


Why? In addition to the obvious reason of this just giving an extra layer of protection, buckets are not the best at blocking light. So depending on where you plan on storing your buckets, this doubling up method might be something you want to consider. Since I store all of my buckets in our under the stairs closet, I don’t feel the need for doubling up, because they see very little to no light. 


To learn more about using mylar bags, I explain the process in this post.

To learn more about using oxygen absorbers for long term food storage, check out this post and grab your free printable that tells you how many oxygen absorbers to use.

The process for storing food in buckets

Step #1 – Wash Buckets and Lids

Wash and thoroughly dry all your buckets and lids.

If you are using gamma lids, install the ring around the top of the bucket.


Step #2 – Gather Supplies

Make sure you have the following ready to go before you start filling the buckets:

  • Buckets
  • Lids
  • Mallet
  • Oxygen Absorbers
  • Food
 
Step #3 – Pour the Food into the Bucket

Fill the bucket up as full as you can, leaving room to place the lid.


Step #4 – Add Oxygen Absorbers

Make sure you don’t open the oxygen absorbers until it’s time to place them on top of the food. Read this post all about oxygen absorbers for a refresher on why this is important and which foods you shouldn’t use them with.


Step #5 – Place the Lid

This part is kind of fun. Grab your mallet and start pounding the edges of the lid to get a tight seal.

If using gamma lids, just twist them on as tight as you can.


Step #6 – Label Buckets

Please oh please remember to put labels on the outside of your buckets! Make sure to write down what food is inside and the month/year the food was put in the bucket. 
**Pro Tip: I also like to put the expiration date on the bucket as well.  Since different foods last for different amounts of time, I don’t want to have to look that up every time I am wondering how much longer my bucketed food will last. I do this while I have the list of oxygen absorber CCs and shelf life out, when I am doing the actual bucketing.  It eliminates frustration later.


Step #7 – Store for the Long Haul

Once you’re done with this, go ahead and stash these big ol’ buckets in a dry, cool environment. For things I use regularly, I keep a bucket for daily use in my pantry. When it’s gone, I’ll just rotate in the next bucket. 


Video of the Process

You can also check out the following time-lapse of my husband and I going through this process.

Mylar Bagging vs Bucketing

So, why choose one over the other? Here are a few things to consider:

  • Is this item something you’ll be using large quantities of on a regular basis? If so, then buckets are great. If not, go with mylar bags, simply due to volume.
  • Once you open a mylar bag, you either need to use all the contents or re-package it. This is why I use buckets for things I use regularly. But, it’s also why I love Wallaby Goods gusseted bags (affiliate link, use code AWESOME5 for $5 off) – most of them have zippers! YAY.
  • Mylar bags come in a variety of sizes, where buckets are more limited (usually by the gallon).
  • Buckets are easy to stack. Storing mylar bags take a little more thought. They don’t stack nice and tidy because of the odd shape.
  • Mylar bags are easier for critters to puncture than buckets are. So, if pesky rodents are an issue at your house or where you’ll be storing your food, go with buckets.
  • Buckets are not light-blocking like mylar bags. So, consider where you’ll be storing these. If you’re storing them in a room with a light-filled window, the bags will be better since light can deteriorate food. 

Using Buckets For Food Storage is Simple.

I know when you’re new to the idea of re-packaging dry goods for long-term food storage, it can feel overwhelming. Honestly, I feel like the hardest part is making sure you have the supplies you need!

If you got nothing else from this post and the one about mylar bagging, I hope it’s this:

It doesn’t have to be hard!

Don’t complicate the process. You can do this! And you’ll feel so much better having extra food in your emergency stash.

Like with all things emergency preparedness, Just. Start.

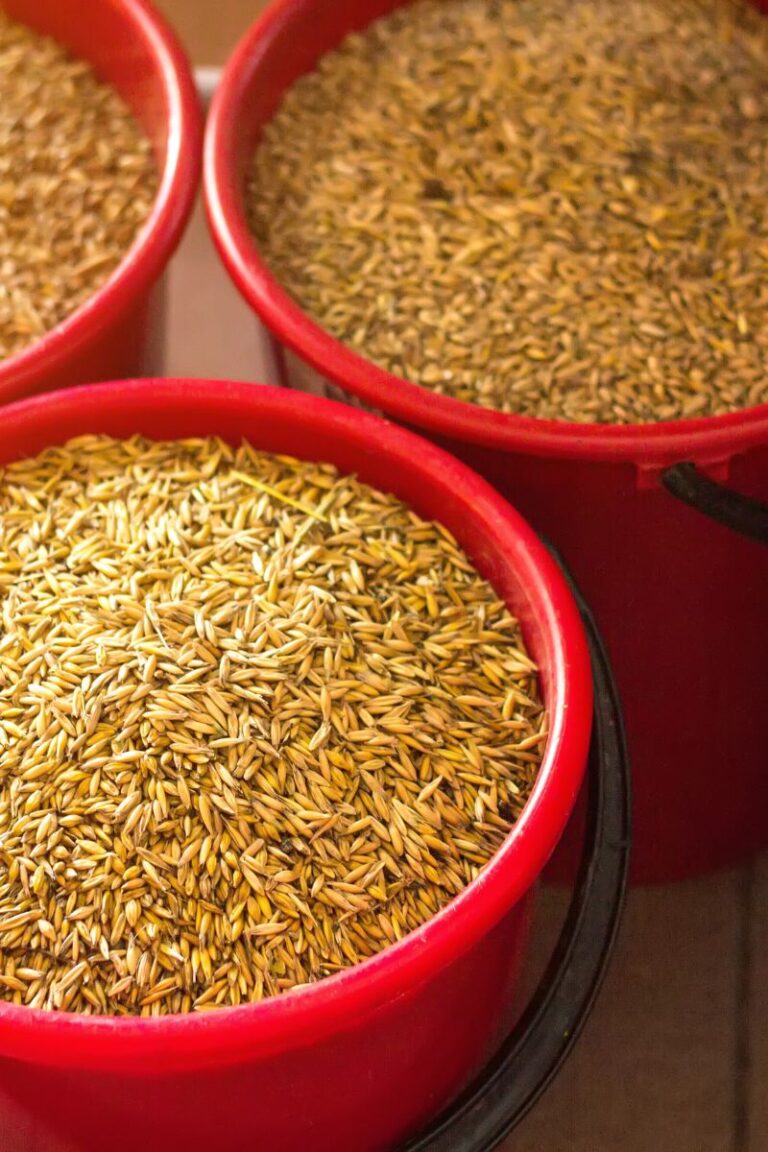
three open red buckets filled with rice grains.

Related Posts:

5 simple things you can do to get your family prepared if you don't have thousands of dollars or hundreds of hours

Receive EXCLUSIVE SUBSCRIBER-ONLY FREE PRINTABLES, INCLUDING "THIS OR THAT EMERGENCY PREPAREDNESS," with 5 things that take 15 minutes or less!

hands holding a sign.

This website uses cookies to ensure you get the best experience.